


Besides Golden Hour light, Window Light is my FAVORITE.. With all of the rainy and dark days here in Ohio this winter and spring, I definitely was able to practice shooting with my camera indoors using window light.

Another reason why I love using window light is because you can create awesome drama and mood with it! By using windows on just one side of your subject, you will create shadows and there will be light fall off. This all creates depth and a bit of mystery to your photos. It ALSO can hide the pile of laundry on the floor behind your subject! ;)
Here are 3 easy tips for using window light!
1. Turn off the lights!
Most artificial light has color to it that can suck the life out of your photos. For example, the lights in our kitchen have a yellow tint to them and they can make everything look yellow. I really HATE yellow lighting in my photos so I always do my best to eliminate it. When I am shooting inside, I always try to turn off as many lights as possible (during the daytime, obviously :) ) This allows me to use natural light coming through the windows.
Mixed light sources (aka window lights plus your table lamp) can also make your photos look flat and can create unflattering shadows.. especially if the light source is directly above your subject's head.
2. Side light, Silhouette, or Front-Lighting
There are several ways to use window light. My two favorite are using it as side lighting (which I do a LOT) and you can also use it to create a beautiful silhouette image. You can also use front-lighting, however, I love shadows so I rarely use this method (it can be very flat with minimal shadows on your subject).
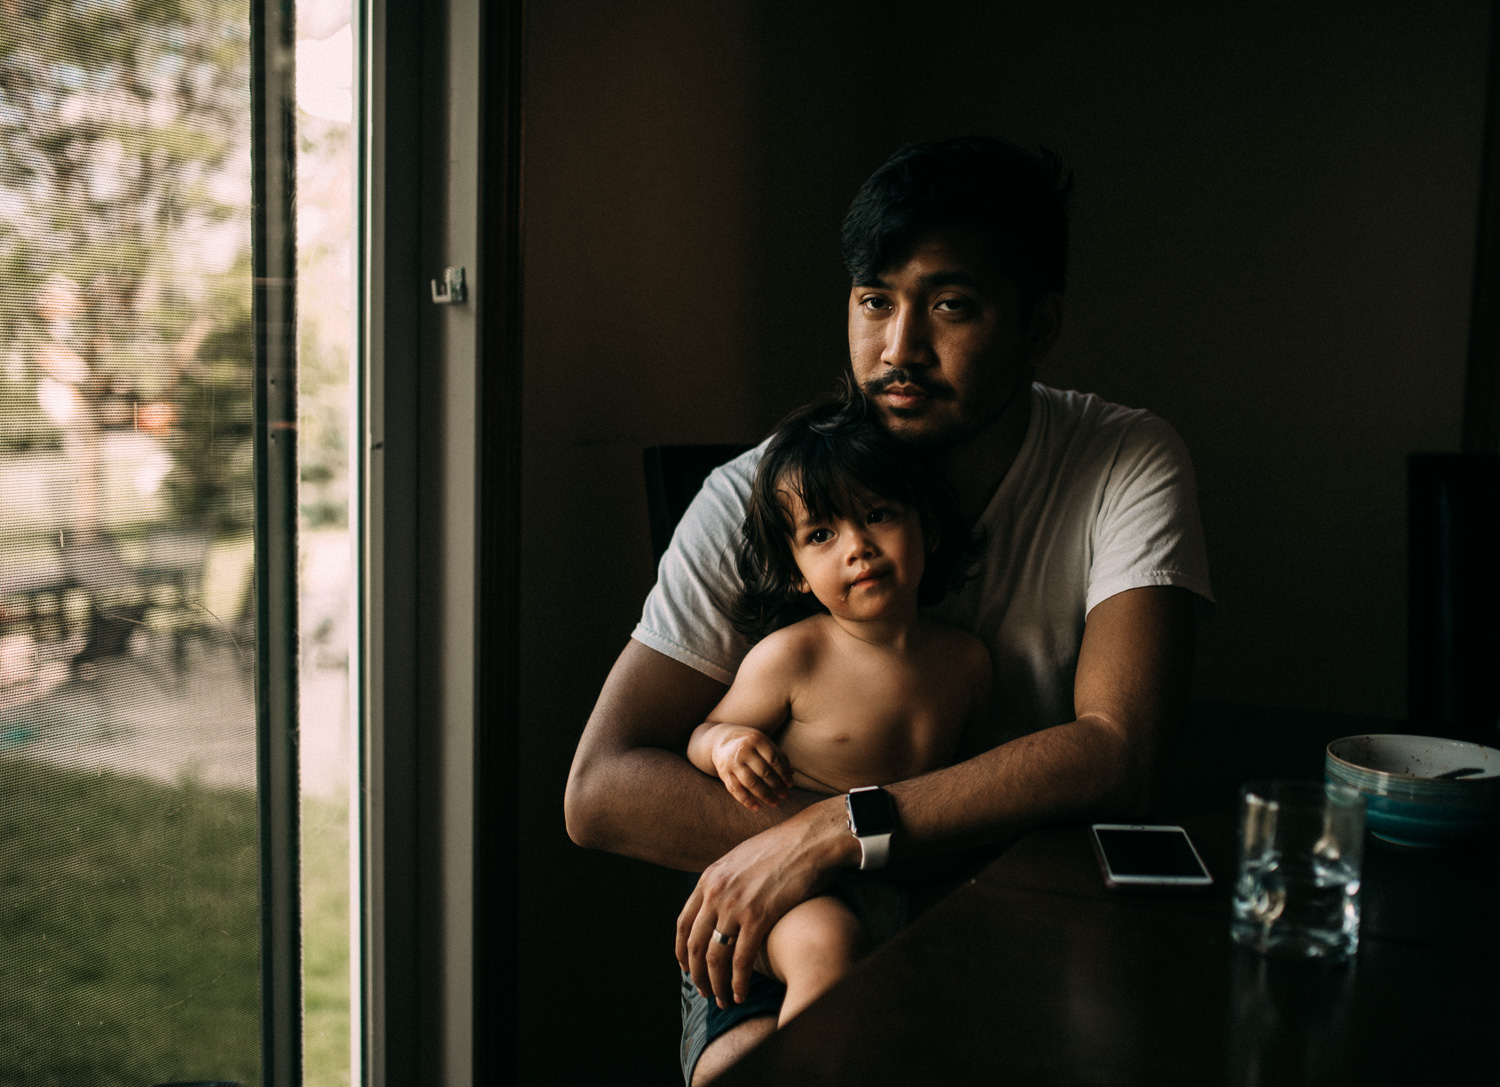
Below are a few examples of side lighting. When side lighting, your subject is perpendicular to the window.

Side Lighting
Silhouettes are one of my favorite things to shoot! When you are taking a silhouette image, you will place your subject between yourself and the window. The highlights in the window will be very bright, creating a silhouette of your subject. You can underexpose your subject as well for a true black silhouette of them against the window. Silhouettes can also be taken with your iPhone camera!
A couple of examples below:

Silhouette Lighting

3. Expose for your subject
Using my DSLR camera in manual mode, I meter for the highlights on their face but I slightly under-expose. This helps to create shadows and depth. I love when I have my son in front of a singular light source (one window, for example) and I get great shadows behind him and light fall off. I usually enhance these shadows and also bring up the exposure on him in editing using the brush tool in Light Room.
If you are using an iPhone camera, you can expose for your subject by tapping on your subject's face on the screen. You should notice a change in the lighting when you do this and the camera will know which part of the image you want exposed.
Another thing to note is that if the window itself is a part of the photo, it will become overexposed and white but that is ok. I actually like this because the white window is less distracting than an outside scene and makes the subject the focus of the photo.
I hope you all find these tips helpful! Sometimes a great photo opportunity trumps lighting technicalities.. but when I am able, I follow these three tips religiously.
